
Revolution Skincare Nose Pore Strips
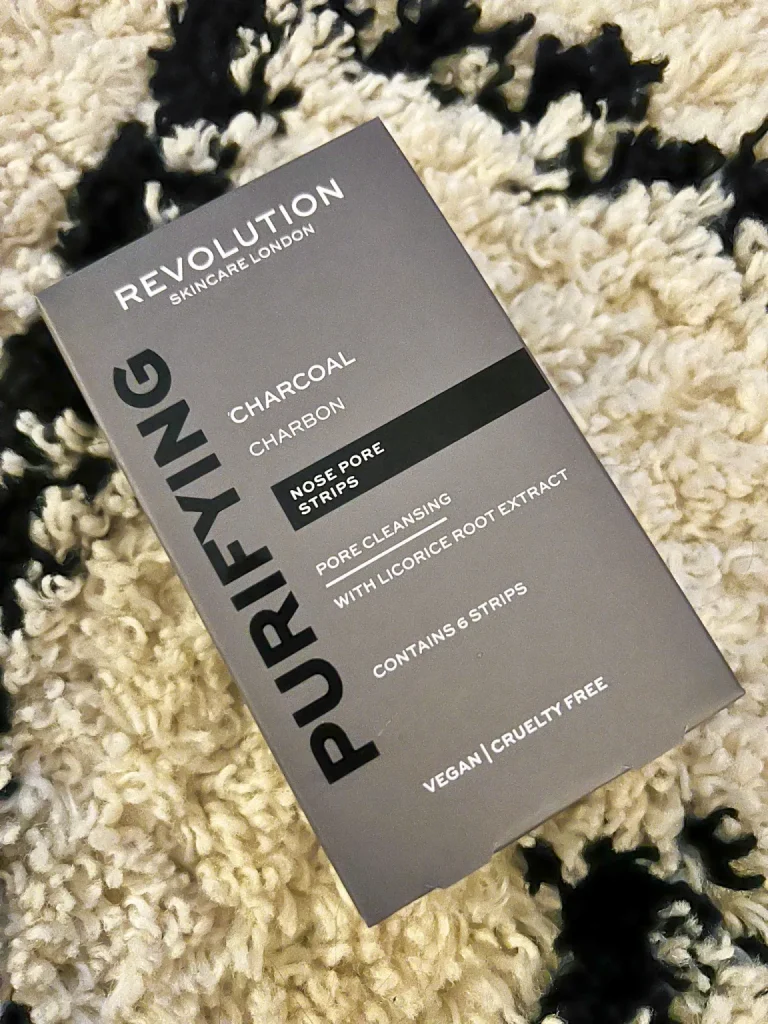
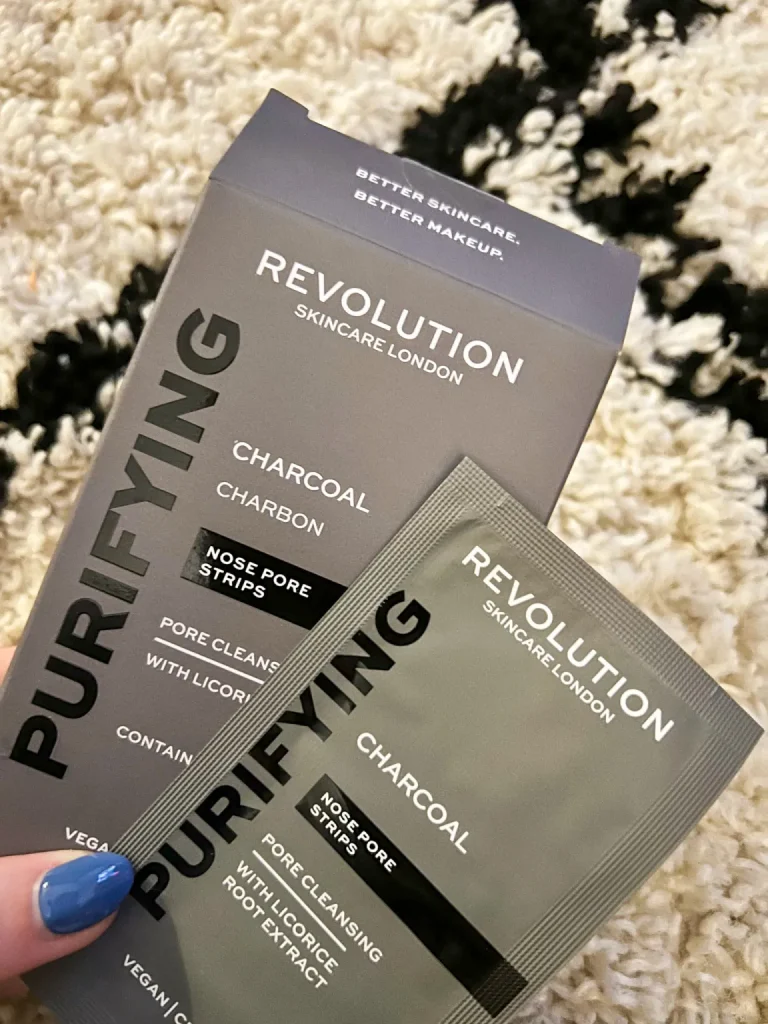
If there’s one thing in my skincare routine which I am absolutely obsessed with is doing my weekly nose pore strips. I find it so satisfying! I recently picked up the Revolution Skincare Nose Pore Strips from Notino and thought I would give them a go to see how I get on. There is lot’s of pore strips on the market and they are great for sorting out blackheads and generally cleansing the skin of any rubbish.
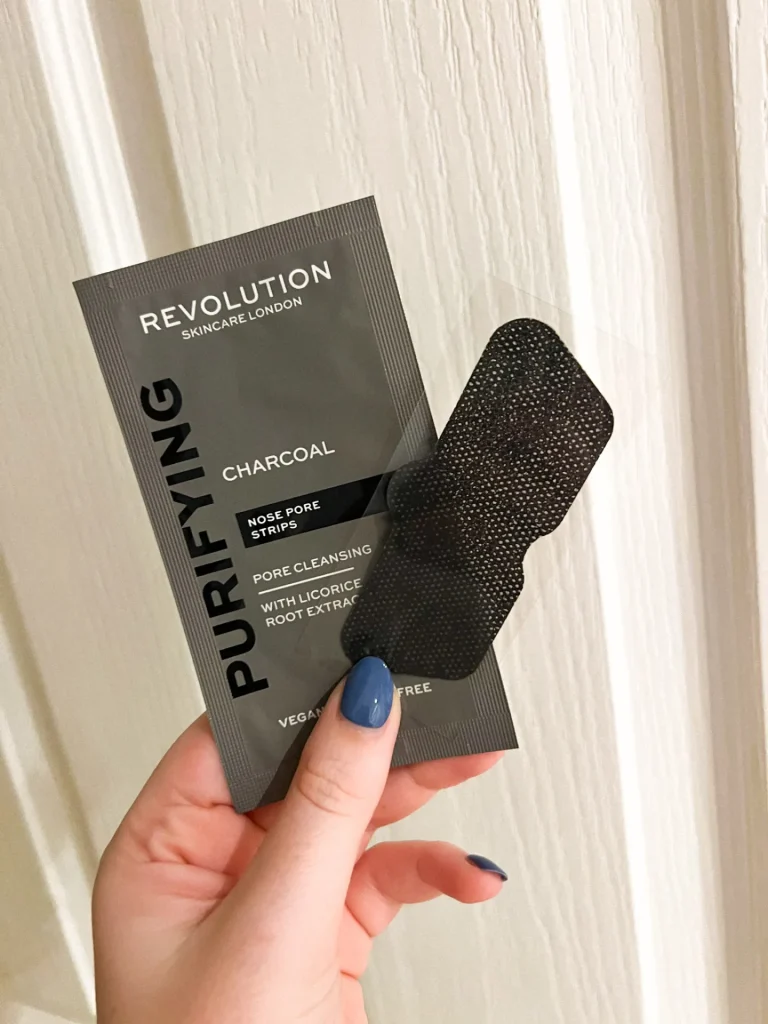
The Revolution Skincare Nose Pore Strips have activated charcoal to release the dirt in the pore and cleanse them. This product also promises sooth irritation and promote natural regeneration. The application is best done on a fully cleansed face and you are best having your nose area pretty damp too. You then apply the nose pore strip to a damp nose and leave for around 10-15 minutes. After this amount of time, it kinda feels like a bit of paper mâché mould on your nose.
After 10-15 minutes it’s time to remove the pore strip. I’ve got to say no matter what brand of pore strips that I’ve use the middle bit is always a little painful to remove. However once removed it’s the most satisfying thing to see the results. You can see all the rubbish and blackheads which it’s removed and it’s just nice to be able to see the results. As this one has activated charcoal it did leave some black residue which I needed to clean off afterwards. However, my nose felt thoroughly cleansed, smooth and free from any dirt.
I certainly could see the results on the pore strips on removal. Hence why it’s so satisfying! Pore Strips are 100% needed in your skincare routine and I would do these weekly just to keep on top of things. It also helps so much with make-up application so much as my nose is so smooth! It certainly is a must do step in my weekly skincare routine!
Have you tried nose pore strips?

My Hair Removal Routine
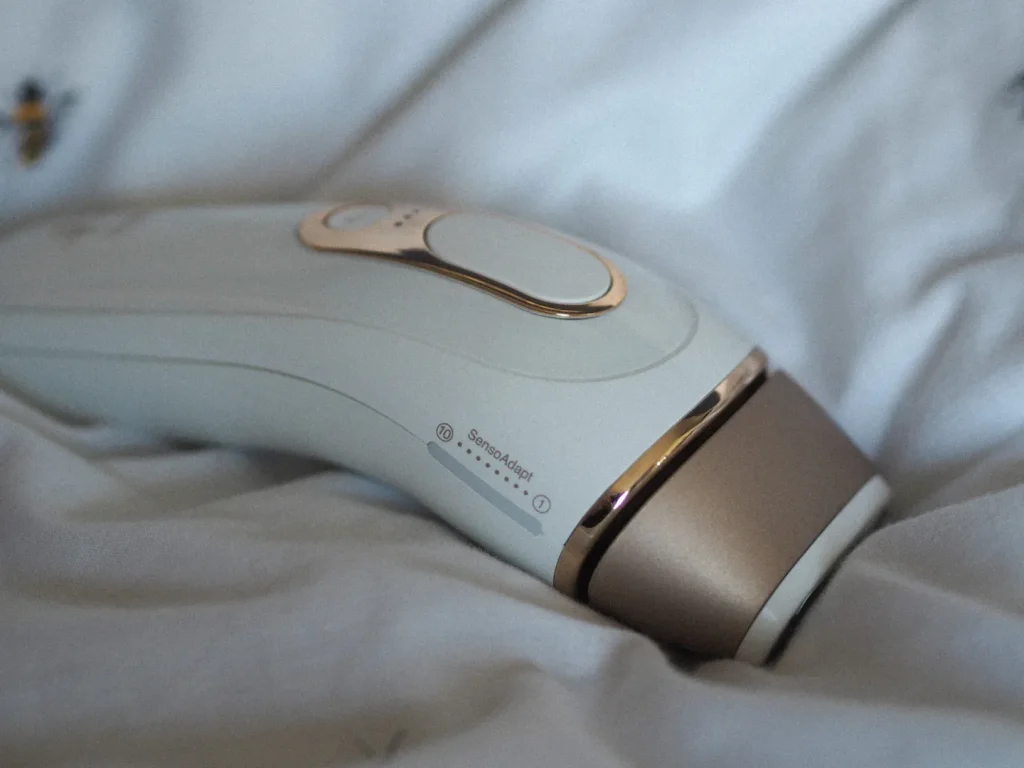
I feel as if most people don’t really talk about hair removal and the best products. Whilst, I have used razors for the longest time, I’ve actually turned to an IPL device to remove and reduce body hair. This isn’t the cheapest route to take but I think in the long run it’s a pretty good option. I’ve barely had to reach for a razor or any other hair removal product since using an IPL device. For quite a while now, I’ve been using the Braun IPL Silk Expert Pro 5 device. Braun offer some excellent hair removal products and quite frankly, I would certainly recommend looking into this.
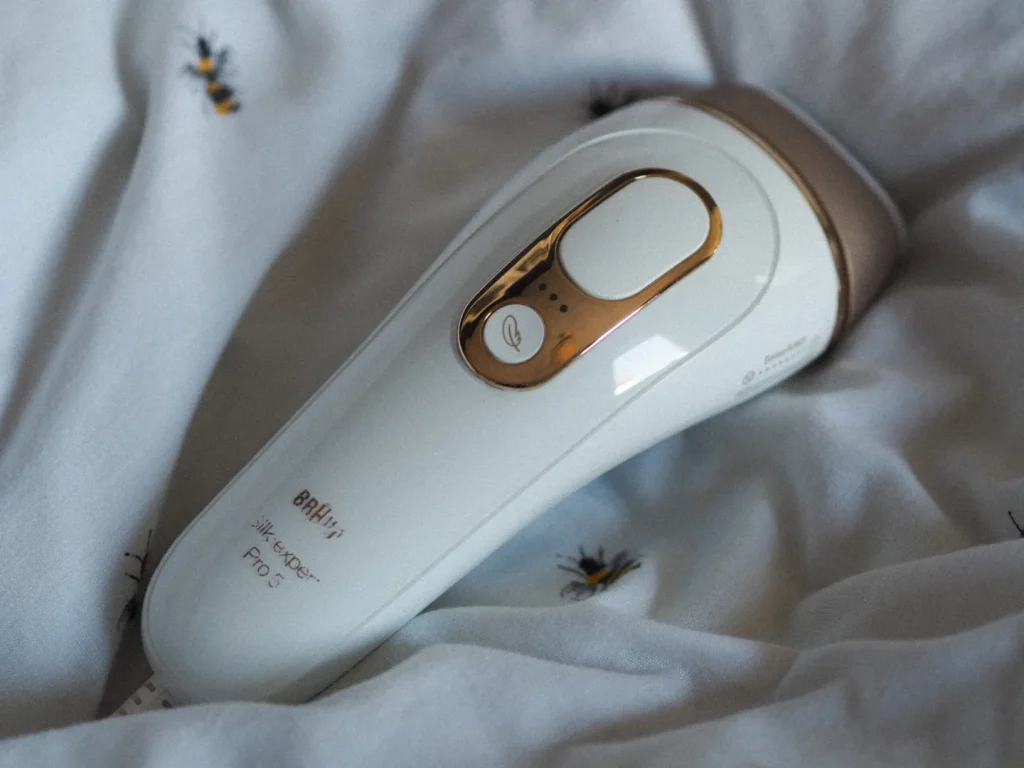
My main tip for these types of devices is to be consistent at least for a minimum of 12 weeks. I still try and keep up with my usage weekly although as time has gone on, it’s not too necessary. Treatments using the IPL device is super easy, you do need to remove all hair before using the Braun IPL laser. After around 12 weeks of use, you could really see that growth of hair had significantly reduced. Even if you are pretty slack with the consistency of use after the 12 weeks, there is really a lack of growth. I did stop using it for a couple of months and my legs were super patchy so it was clear that growth was reduced. I’ll take that as a win to be honest.
I thought I would share this post pre-christmas as I know a lot of people have enquired about these type of products as gifts. Wondering if they really work? Are they worth the money? In my opinion, they are. Results can vary depending on your hair colour though. As I have pale skin and dark hair, I’m apparently the target user for it working to the maximum so just beware of that. I think it would make an excellent gift this Christmas as it really can change someones hair removal journey.
What is your hair removal routine? Have you used an IPL device?

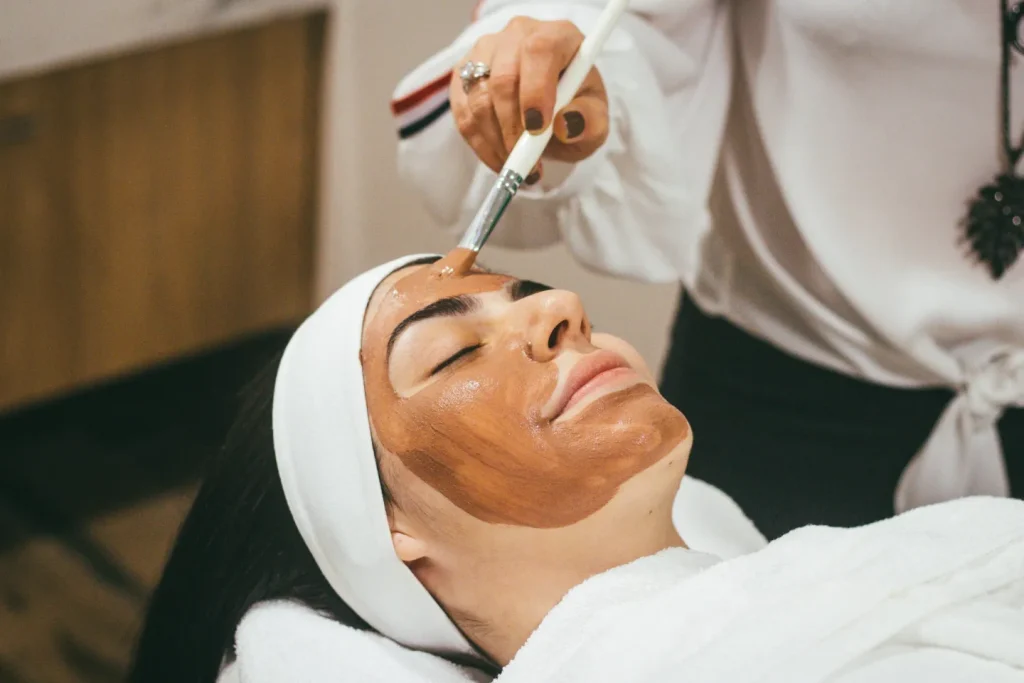
At-home beauty treatments to try
Has the start of a new year spurred you to try some at-home beauty treatments? Whether you’re aiming to save a bit of money, want to improve your skills to set up a side hustle, or simply fancy trying your hand at something new, here are some of the treatments you could consider giving a go.
Waxing
If hair removal is something that you choose to do, waxing could be the perfect solution. Pulling hair directly from the root means hair grows back thinner and less frequently than shaving. Using wax strips at home is an easy, mess-free option, ideal if you’re looking for something relatively quick. If you are new to waxing, try a less painful body part such as legs before moving on to more intimate areas.
Gel manicures
Gel manicures are a great treatment to try out yourself, particularly if you have an eye for detail or you enjoy being creative. This will require some initial investment in a gel lamp and suitable polishes but will save you considerable money in the long run when compared to getting frequent manicures at a salon.
Giving yourself a gel manicure is definitely a trial-and-error process that takes perseverance to get good at it. Once you have mastered a plain manicure, you can begin experimenting with nail art. There are plenty of online tutorials to follow for nail art, ranging in abilities and designs. If you want to get more practice without constantly removing your polish, offer to do a friend’s nails or practice designs on some false nails.
Lash and brow tint
Lash and brow tints can completely transform your face, particularly if you are naturally fair-haired. Although this is a treatment that can typically be done for a reasonable price at a salon, it is the frequency of the treatment that lends well to doing them at home. Due to cleansing and various other skincare applications, as well as the dye used, lash and brow tints will naturally fade over time and so are typically recommended every 4 to 6 weeks for consistent results.
Read customer reviews before deciding which tint kit to purchase, and make sure to conduct a patch test before doing the treatment. Dependent on your colourings, your will likely want to purchase different kits for lashes and brows as you may want the colours for each to differ.
With any at-home beauty treatment, it is worth noting that you should always follow the instructions provided and don’t undertake anything you aren’t confident with. If you have a reaction to anything you try at home, then you should seek professional medical advice.
If you are keen to try a certain treatment but aren’t sure about your abilities, it could be useful to get it done professionally first to familiarise yourself, before giving it a go.

My Five NARS Cosmetics Must Haves
When it comes to make-up, NARS is up there as a contender for my favourite high-end brand. I have a few NARS products which are the ultimate staples in my make-up bag. We are talking; cannot live without them. I thought I would share five of my top NARS products which in my opinion are must haves.
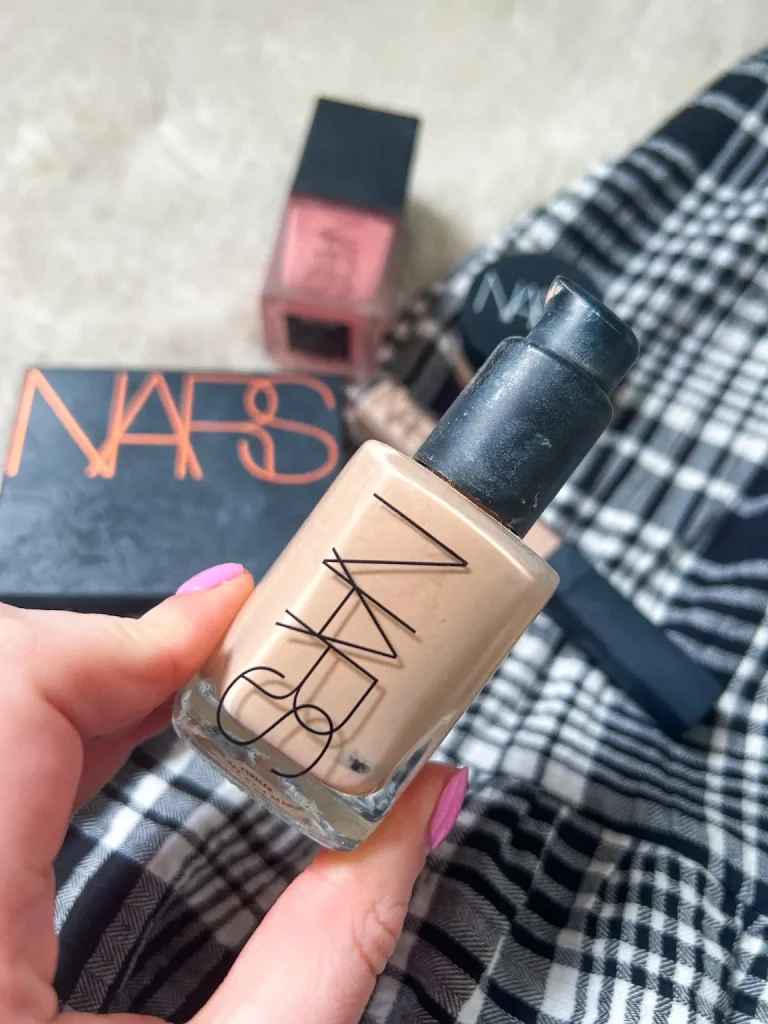
NARS Sheer Glow Foundation
Starting off with NARS Sheer Glow Foundation. I don’t even know how many years ago I purchased this foundation and I’ve continuously done so ever since. I am shade Mont blanc and I’ve always thought this is the perfect match for me. The Sheer Glow Foundation is quite a heavy coverage foundation. It’s one that I always save for going out or special occasions but the coverage is flawless. I’ve also tried the NARS tinted moisturiser which I was also impressed by. However, I really want to try more foundations by NARS as I know people rave about the Light Reflecting & Radiant Longwear foundations. I think I am probably living in the past still raving about Sheer Glow without trying to the new ones.
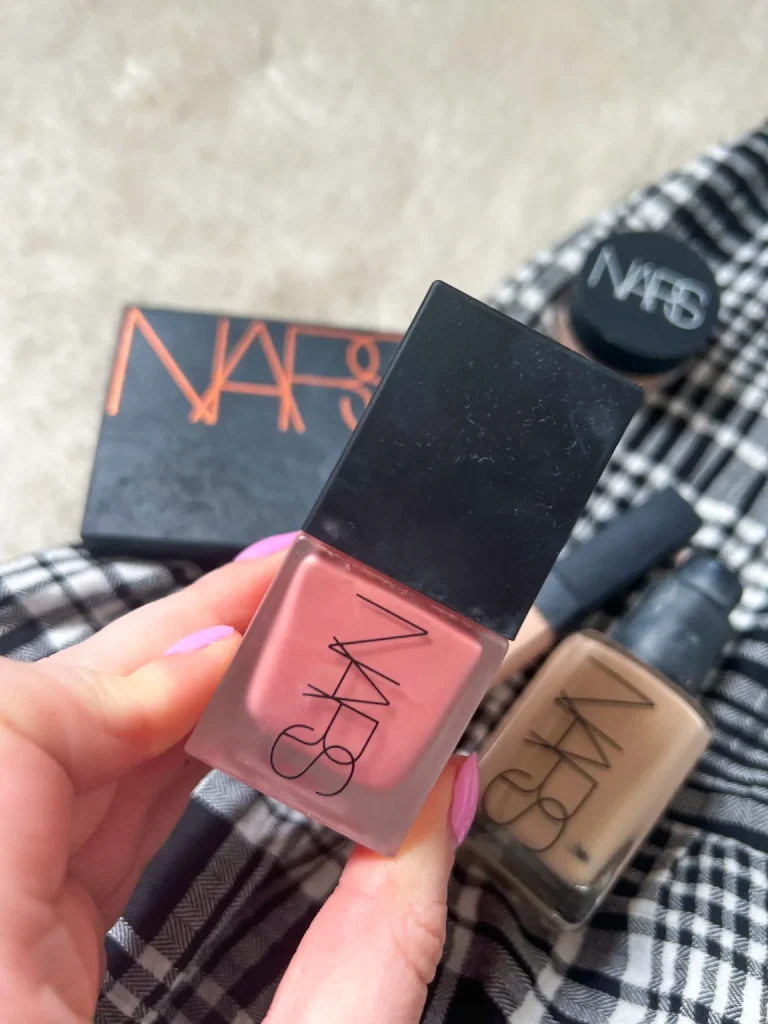

Nars Orgasm Blush
I’m sure we’ve all heard about the NARS Orgasm Blush. For years, this was an ultimate must have in everybody’s make-up kits. The blush gives you a subtle, rosy glow with a shimmer running through it. Whilst I’m a big fan of the powder blush, I recently picked up the liquid version and it is life changing. I am not kidding, when I say a little goes a long way as it’s so pigmented. It’s safe to say I won’t be running out of this product any time soon, but it gives you such a lovely glow to the cheeks.
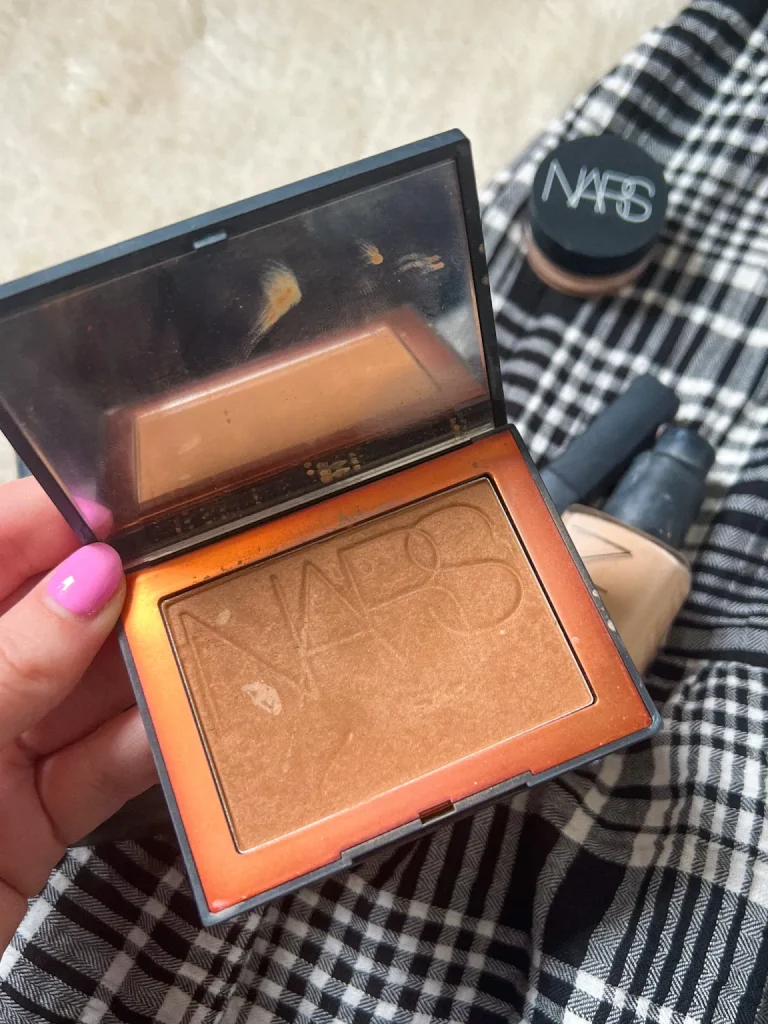
Nars Laguna Bronzer
Another must have for the make-up bag is NARS Laguna Bronzer. To this day, I haven’t found a powder bronzer which lives up to this hype. I’ve got to have been using this bronzing powder for over 10 years now. In that time, I think I’ve only gone through about three or four as it’s quite a big compact. But as I said nothing else has come close to being as good as this bronzing powder. I use the original Laguna shade, however there is a few alternative shades and also a matte version. This product blends like a dream and it’s buildable depending how bronzed you are wanting to go. I think this one will always be a favourite and completely worth while buying!
In fact, it’s my number 1 buy from NARS!
NARS Radiant Creamy Concealer
My final two NARS products which I need to mention are concealers. First up, is the Radiant Creamy Concealer. I use the shade Vanilla and find this is amazing for covering any blemishes or the under eye area. I’d say the concealer does have quite a thick consistency, but it applies so well. It never creases and the coverage is amazing. The only downfall to this product is that I seem to go through so many tubes of this concealer. I guess I just have too much to hide!
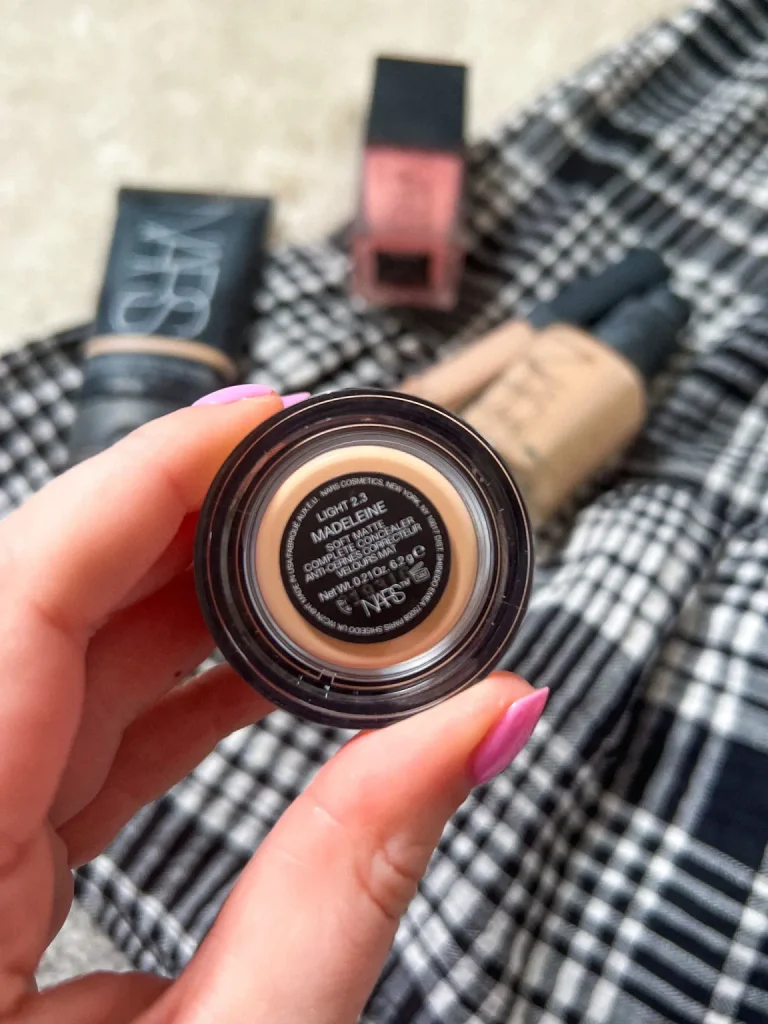
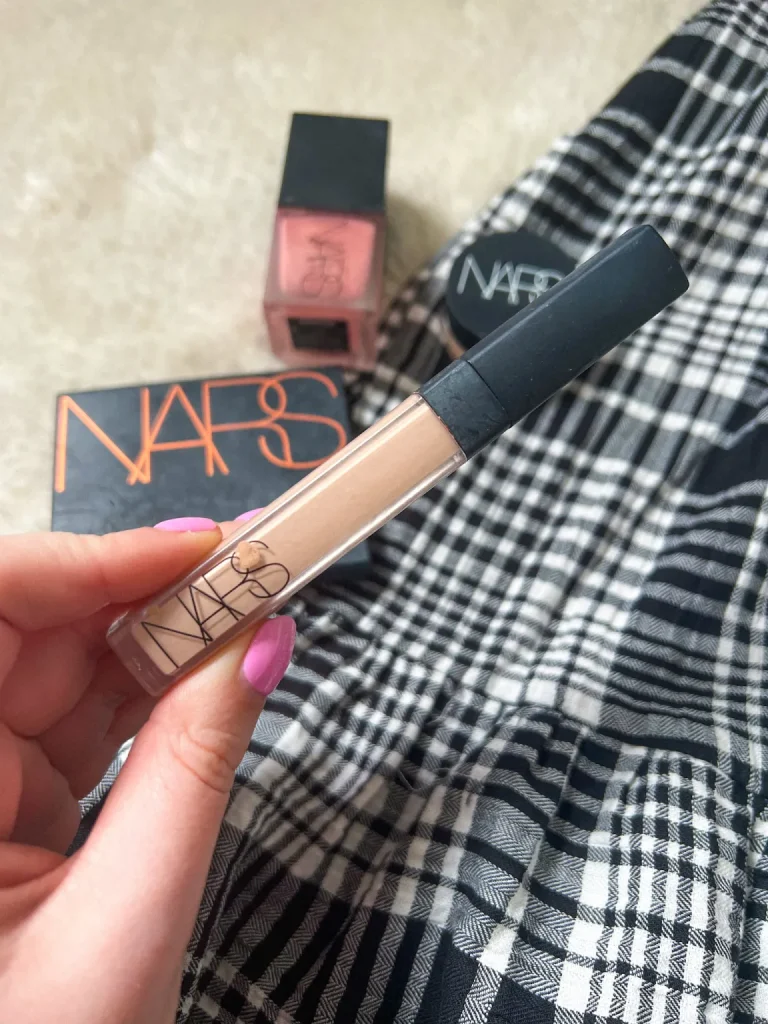
NARS Soft Matte Complete Concealer
Finally, I also want to mention the Soft Matte Complete Concealer. This was so hard to find this concealer in stock anywhere! It’s always sold out! I even tried hunting it down in America which it seems it’s just as popular over there. Thankfully, I recently managed to get one from Notino. I also picked this up in the shade Vanilla.
This concealer is excellent for covering blemishes and is raved about by the top beauty influences. It’s got a creamy texture and it’s highly pigmented. Any spots I have, I will cover with a layer, continue with the rest of my makeup before blending and setting and it really seems to do the trick. This concealer will conceal anything . I’m so glad I’ve finally got my hands on it!
Have you tried anything from NARS before? What are your favourite products from the brand?

How to dramatically chisel your cheekbones
Killer cheekbones have been the rage even before Angelina Jolie graced the big screen, and the social media age – bringing the chiselled cheekbones of the Kardashians to every household worldwide – has only enhanced the love of this powerful look. But, how do you dramatically chisel your cheekbones without the help of a world-famous makeup team? Avoiding that cakey, orange finish can be a real challenge!
We’ve scoured the internet for the finest sculpting tips out there, and have uncovered the following fool proof hacks to dramatically chisel your cheekbones with style. Contouring cheekbones is an art form; all you have to do is pick up the brush! Read on for more.
Start with a glowy base
The radiance of your skin can bring out the hollows of your cheekbones, especially if highlighter is applied to the highest points of your face.
Achieving this glowy base is easier than you might think, too! Prep your skin well before applying a sheer foundation – skin tints are our recommendation, as they are extremely radiant and hydrating.
To finish, cover under-eye shadows with a concealer up to two shades lighter than your foundation. Finally, apply a generous amount of highlight on the highest points of your cheekbones! This will help to chisel your face in a natural, but no less dramatic, way.
Choose the right contour tone
Your contour should mimic the natural shadows of your face. The main reason contour becomes orange is that you’re choosing a shade much too bronze for your complexion. Bronzers add warmth, but they don’t chisel! We advise a taupe or soft grey – whatever complements your skin tone the most. The end result should be a cool, crisp contour that doesn’t seem orange, pasty or grey.
Angled brushes are best
Whether you contour with cream or powder or both, we always recommend using a contouring brush that has an angled head. This means the brush will curve the product smoothly along the cheekbone, instead of becoming stripey and cakey!
However, beauty blenders can also be a good idea for cream-based products. We do advise using a blender alongside a tapered brush, if you’re looking to blend your contour in seamlessly.
The right products make all the difference
For contouring your face, choose products that are as iconic as you are! There’s a big world of products out there, each with a different shade and texture. We would recommend contour by Iconic London. Iconic London’s contour pots cater to a variety of skin tones, combining the best of cream and powder to set your sculpted look for the long-term. Your face will be fierce, sculpted and seamless – all day long!
Have confidence in your sculpting skills
The most important part about makeup is confidence. Using the handy chiselling tips we’ve outlined above, don’t wait to show the world the mot iconic version of yourself. Contour away, today!