
When selling on online platforms, high-quality photos are essential to showcase your products and attract buyers. After all, there is a lot of competition. Whether you’re selling on platforms like eBay, Etsy, Vinted, or your own website, clear, professional-looking photos can increase your chances of making a sale. Here’s a guide on how to take great photos of clothes you’re selling.
1.Choose the Right Equipment
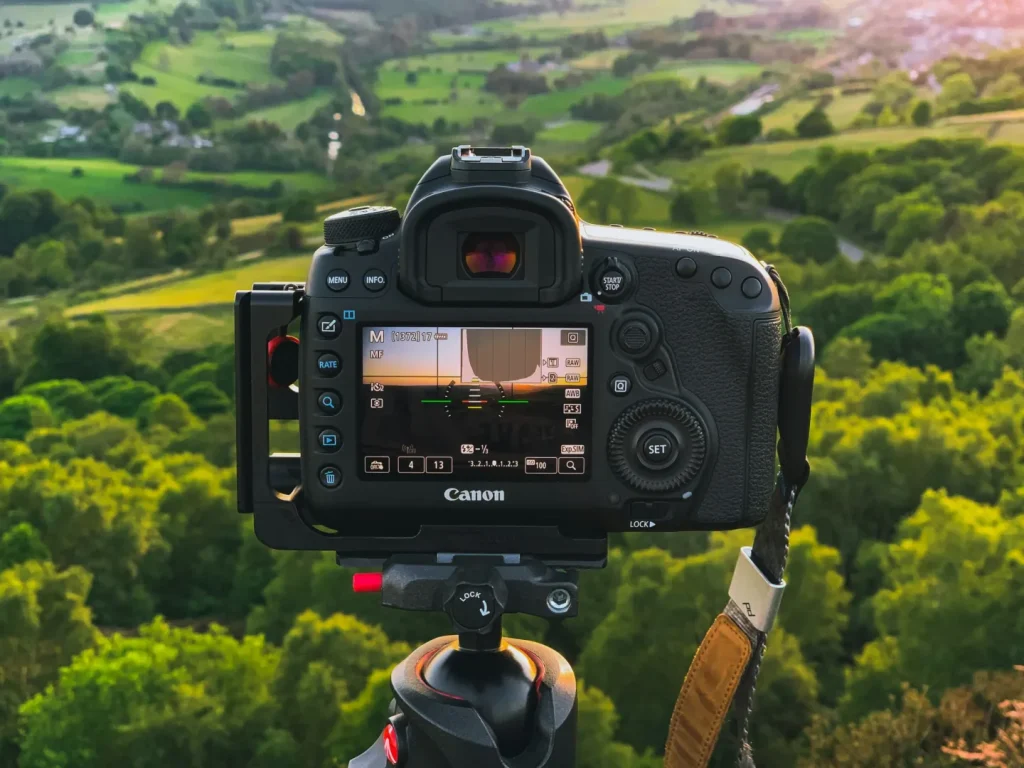
A smartphone with a good camera is sufficient for taking photos of your clothes. However, if you want sharper, higher-quality images, you might want to invest in a DSLR or mirrorless camera, like a Canon EOS R10.
A tripod will help stabilise your camera or phone, ensuring sharp, clear images without motion blur. Proper lighting is also crucial for showcasing the details of your clothes. Natural light is ideal, but if you’re shooting indoors, consider investing in affordable lighting kits or using lamps to brighten up your space.
2.Pick a Clean and Neutral Background
The background should not distract from the clothes you’re selling. Choose a simple, clean backdrop to keep the focus on the product. Here are a few background options:
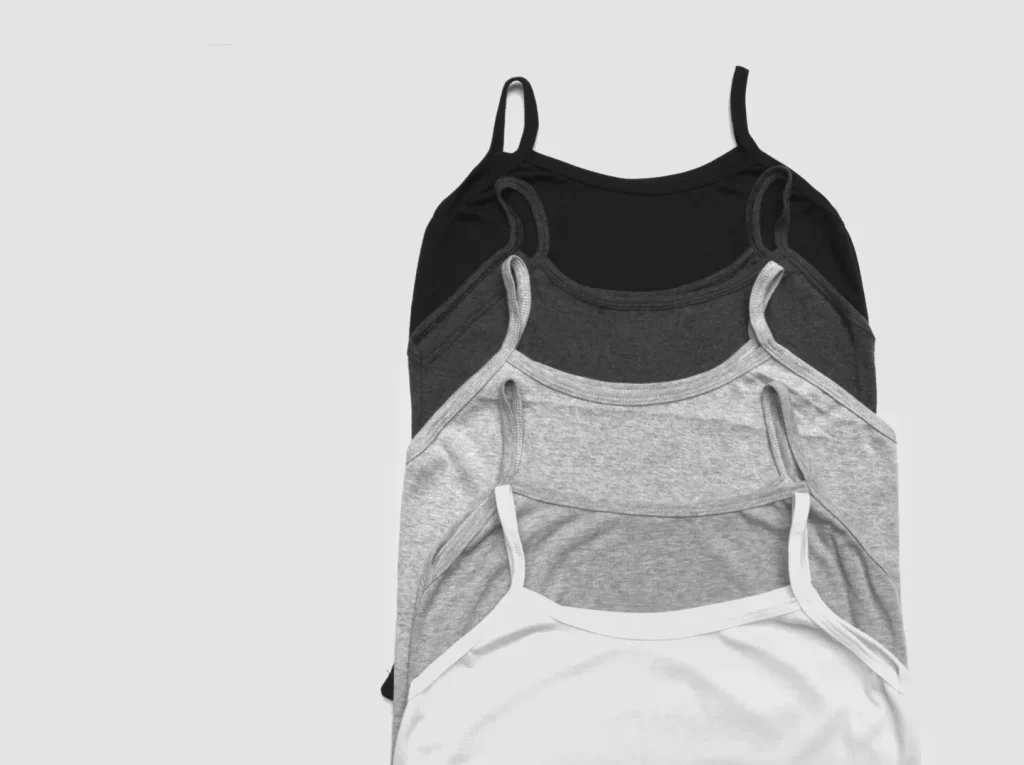
- Plain White or Light-Coloured Wall: A white wall or a light-coloured backdrop helps the clothing stand out and gives the photo a clean, professional look.
- Seamless Paper: If you want a more polished look, seamless backdrop paper (available in various colours) is a great option. White or neutral shades work best.
- Flat Lay Setup: If you don’t have a space for hanging clothes, you can lay them flat on a bed, table, or large piece of fabric. Just make sure the surface is clean and wrinkle-free.
If you’re photographing multiple items, consider setting up a dedicated area where you can control the lighting and background easily.

3.Lighting is Key
Good lighting is essential for capturing true colours and details. The right light will bring out the texture, fabric, and style of your clothing.
- Natural Light: Whenever possible, shoot during the day near a large window. The soft, diffused light from natural sources will make your clothes look vibrant and true to colour. Avoid direct sunlight, as it can create harsh shadows and overexpose parts of the image.
- Artificial Lighting: If you’re shooting indoors at night or on cloudy days, use softbox lights or LED lights to brighten up the space. Position the lights at 45-degree angles to avoid harsh shadows.
- Avoid Overhead Lighting: Overhead lights tend to cast unflattering shadows on clothing. Instead, use side or front-facing lights to illuminate the fabric evenly.
4.Use the Right Angles and Framing
The way you frame and angle your photos can make a big difference in how the clothes are perceived. Here’s how to showcase clothing from various angles:
- Full-Length Shot: A full-body shot showing the entire outfit is essential. Ensure the garment is centred and displayed straight, and leave some space around the edges of the photo to avoid a cramped look.
- Close-Up Shots: Take detailed close-ups of any unique features like buttons, zippers, patterns, or fabric texture. This gives buyers a better sense of the quality and craftsmanship of the item.
- Side and Back Shots: If possible, show the garment from multiple angles (front, side, and back). This helps customers understand the fit and design more clearly.
- Flat Lay: If you’re selling items like shirts, skirts, or dresses, laying them flat on a clean surface can show the design clearly. Make sure the clothes are arranged neatly, with no wrinkles, and be mindful of how the item is placed (ensure it’s centred and balanced).
- On a Model or Mannequin: If you have access to a mannequin or someone to model the clothes, it’s helpful to see how the item fits in real life. This is especially important for clothing where fit and shape are key selling points (e.g., jeans, dresses, coats).
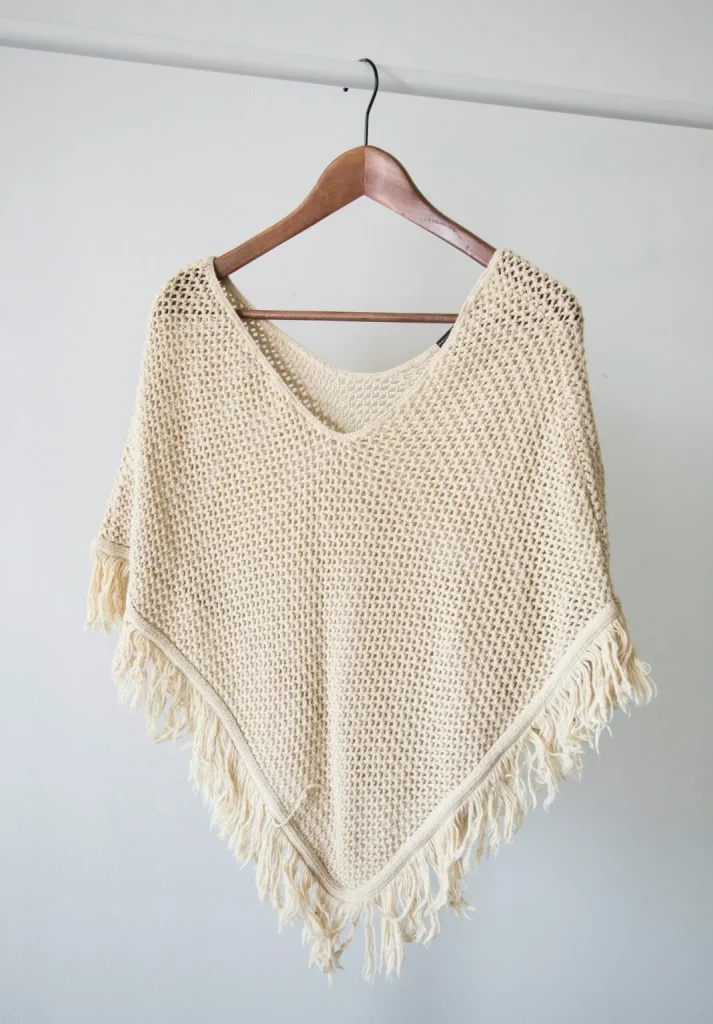
5.Ensure the Clothing is Neat and Well-Pressed
Wrinkled or messy clothing can turn potential buyers away. Make sure the clothes you’re selling are clean, neatly pressed, and free from lint or pet hair.
- Iron or Steam: If necessary, iron or steam the garments to remove wrinkles. For delicate fabrics, a steamer is a great way to get rid of creases without risking damage.
- Lint Rollers: Use a lint roller to remove any lint, hair, or dust from the clothes before photographing them.
- Smooth the Fabric: Arrange the clothing so it looks crisp, and avoid bunching or folding it in a way that may distort its shape.
6.Focus on Colors and Details
When taking photos, make sure the colours in the clothing are accurately represented. Colours in photos can sometimes appear washed out or off, especially under certain lighting conditions.
- Avoid Overexposure: If the image is too bright, the colours will look unnatural. Ensure that your lighting is soft and balanced.
- White Balance: Most smartphone cameras have an automatic white balance feature, but if you’re using a digital camera, make sure the white balance is correctly adjusted to avoid colour distortions.
- Capture Unique Features: Highlight any distinctive elements of the clothing, such as embroidery, textures, or brand labels. Buyers often appreciate detailed shots that give them a closer look at what they’re purchasing.
7.Edit Your Photos (But Don’t Overdo It)
Editing your photos slightly can enhance the overall appearance, but it’s important not to overedit, as this can mislead buyers about the true appearance of the product. Keep your edits subtle and focused on improving clarity and brightness.
- Adjust Brightness and Contrast: If the photo is too dark or too light, adjust the brightness to make the clothing more visible.
- Crop and Align: Make sure the garment is centred and aligned within the frame. Crop out any unnecessary background or distractions.
- Colour Correction: Use editing tools to adjust colour if the photo looks too warm or too cool, ensuring the clothing’s true colour is reflected.
There are plenty of free and easy-to-use editing apps available that offer simple adjustments without overwhelming you with complex features.
8.Optimise for the Platform
Different selling platforms have different requirements when it comes to photo dimensions and quality. Be sure to check the photo guidelines for the specific site you’re selling on.
- Resolution: High-resolution images look professional and allow customers to zoom in to inspect details.
- Number of Photos: Many platforms allow multiple images per listing. Use this to your advantage by showing the product from various angles and highlighting any unique features.
- File Size: Compress images to reduce file size without sacrificing quality. Large image files may take longer to upload or slow down your listing’s load time.
9.Stay Consistent with Your Photos
For a cohesive and professional-looking online store, try to keep your photos consistent. Use the same lighting, background, and angles for all your listings. Consistency helps build a brand identity and makes your shop look more polished.
Taking great photos of the clothes you’re selling is an investment in your success. With the right lighting, equipment, and attention to detail, you can showcase your products in a way that attracts buyers and boosts your sales. By following these tips and refining your photography skills over time, you’ll be well on your way to creating a visually appealing online store that makes a lasting impression. Happy selling!
What are your top tips for selling online?