You have a closet full of clothes. You stand there for ten minutes, pull out three things, put them back, and leave in the same jeans and t-shirt you wore yesterday. This isn’t a creativity problem. It’s a planning problem.
Sketching outfit ideas — literally drawing rough stick figures of what you plan to wear — solves this. It forces you to make decisions before you’re standing in front of your closet at 7:42 AM with wet hair. And you don’t need to draw well. Stick figures work. Circles for heads. Rectangles for torsos. The point is the combination, not the art.
Here’s the exact method I use to sketch 7 outfits in under 20 minutes, with zero artistic skill required.
Why Sketching Beats Mental Outfit Planning
Your brain can hold about four items in working memory at once. That’s not enough to visualize a full outfit with shoes, accessories, layers, and proportions. When you try to plan outfits mentally, you forget the third option. You default to what’s familiar. You end up wearing the same three combinations on repeat.
Sketching externalizes the decision. You see the whole outfit on paper. You can move pieces around. You can compare two options side by side. This reduces decision fatigue by about 60% in my experience, because you’re not re-deciding every morning.
The second reason sketching works: it reveals proportion problems before you dress. A cropped jacket over wide-leg pants looks different on paper than it does in your head. You can spot the imbalance — too short on top, too wide on bottom — and swap the jacket for a longer cardigan before you waste time trying it on.
Third, sketching builds a visual library. After two weeks of sketching outfits, you’ll have a reference sheet of what works. You stop guessing. You start repeating proven combinations. That’s not boring. That’s efficient.
The 3-Step Outfit Sketching Method
This method uses a notebook (any $3 spiral-bound will do), a pen, and about 5 minutes per outfit. No fancy art supplies. No tracing. No pressure to draw well.
Step 1: Draw the Base Silhouette
Draw a simple figure. Head as a circle. Body as a rectangle. Legs as two lines. Arms as two more lines. Keep it under 10 seconds. The figure is just a hanger for clothes.
Now draw the silhouette of the outfit you’re considering. Focus on shape, not details. A-line skirt = triangle from waist down. Wide-leg pants = two wide rectangles from hips to ankles. Fitted turtleneck = a narrow rectangle from neck to waist. The silhouette is 80% of the outfit’s visual impact.
For example: a boxy blazer over slim trousers creates an inverted triangle shape. That reads as structured and intentional. A loose sweater over wide-leg pants creates a rectangle. That reads as relaxed and cozy. The shape tells you the vibe before you add any details.
Step 2: Add the Key Pieces
Draw the specific garments on top of your silhouette. Use simple shapes. A crewneck sweater is a rounded rectangle. Button-down shirt has a V at the neck. Jeans have a center seam line. Boots are two small rectangles at the bottom of the legs.
Add color using words, not actual coloring. Write “cream” on the sweater. Write “black” on the pants. Write “brown leather” on the boots. This takes 30 seconds and tells you if the color balance works.
Here’s the trick: draw the layers in order from skin out. First the base layer (tank top, t-shirt). Then the mid layer (cardigan, blazer). Then the outer layer (coat, jacket). Then accessories (scarf, belt, bag). This prevents the common mistake of planning a coat that doesn’t fit over your sweater.
Step 3: Note the Fit and Fabric
Write small notes next to each piece. “Oversized” next to the sweater. “Cropped” next to the jacket. “Slim” next to the trousers. These words matter more than the drawing because they communicate how the garment actually behaves on your body.
Add fabric notes too. “Stiff cotton” behaves differently than “drapey silk.” “Heavy wool” has more structure than “thin jersey.” A sketch of a structured blazer and a sketch of a soft cardigan might look identical on paper, but the fabric note tells you the real difference in how they’ll wear.
That’s it. Three steps. 5 minutes. One outfit sketched and ready to wear.
3 Common Outfit Sketching Mistakes (And How to Fix Them)
Most people try sketching outfits once, get frustrated, and quit. Here’s what usually goes wrong and how to avoid it.
Mistake 1: Drawing Too Much Detail
You’re not illustrating a fashion magazine spread. You’re planning a Wednesday outfit. Drawing every button, pocket, and seam line wastes time and creates frustration. Stick to the essential shapes: the neckline, the hem length, the sleeve shape, the pant leg width. That’s enough to distinguish one outfit from another.
Fix: Use a 10-second timer for each figure. When the timer goes off, stop drawing. Move to the next element. Speed forces simplicity.
Mistake 2: Only Sketching Favorites
It’s tempting to sketch the same outfit you already love — the black jeans and white t-shirt combo you’ve worn 40 times. That defeats the purpose. The goal is to find new combinations you haven’t tried.
Fix: Pick one item you rarely wear and build an outfit around it. That floral midi skirt collecting dust? Sketch it with a chunky knit. That leather jacket that feels too edgy? Sketch it with a silk slip dress. Forcing yourself to use neglected pieces unlocks new looks without spending money.
Mistake 3: Ignoring Proportions
A sketch that looks good on paper can look terrible on your body because the proportions are wrong. Drawing a cropped jacket that ends at your natural waist looks fine in a 3-inch figure. On your actual body, that jacket might hit at an unflattering spot.
Fix: Draw the hemline at the correct relative position. If the cropped jacket ends at your waist, draw it ending at the figure’s waist. If the wide-leg pants start at your hips, draw them starting at the figure’s hips. Accurate placement matters more than accurate drawing.
Outfit Sketch Template Comparison
Different sketching approaches work for different people. Here’s a comparison of three common templates I’ve tested, with the tools and time required for each.
| Template Type | Best For | Tools Needed | Time Per Outfit | Skill Level |
|---|---|---|---|---|
| Stick Figure | Quick planning, travel, daily use | Pen + notebook ($3) | 2-3 minutes | None required |
| Pre-printed Croquis | Detailed planning, capsule wardrobes | Printed croquis sheets ($5 for 50 sheets) + pencil | 5-7 minutes | Minimal — just trace clothes over the figure |
| Digital App (Paper by WeTransfer) | Color planning, easy editing, sharing with friends | iPad + Apple Pencil or stylus ($10 app, free version available) | 4-6 minutes | Low — undo button helps fix mistakes |
The stick figure method wins for speed and portability. I keep a small notebook in my bag and sketch outfits while waiting for coffee. The croquis method works better for planning a full week or a trip, because the consistent figure size makes it easier to compare proportions across outfits. The digital method is overkill for daily use but useful if you want to save and reference outfits later.
For most people, start with the stick figure. It’s free, fast, and removes every barrier to starting. Upgrade to croquis or digital only if you find yourself wanting more precision.
How to Turn Sketches Into a Wearable Outfit Plan
Sketching is step one. The real value comes from using those sketches to dress yourself efficiently. Here’s the system I use.
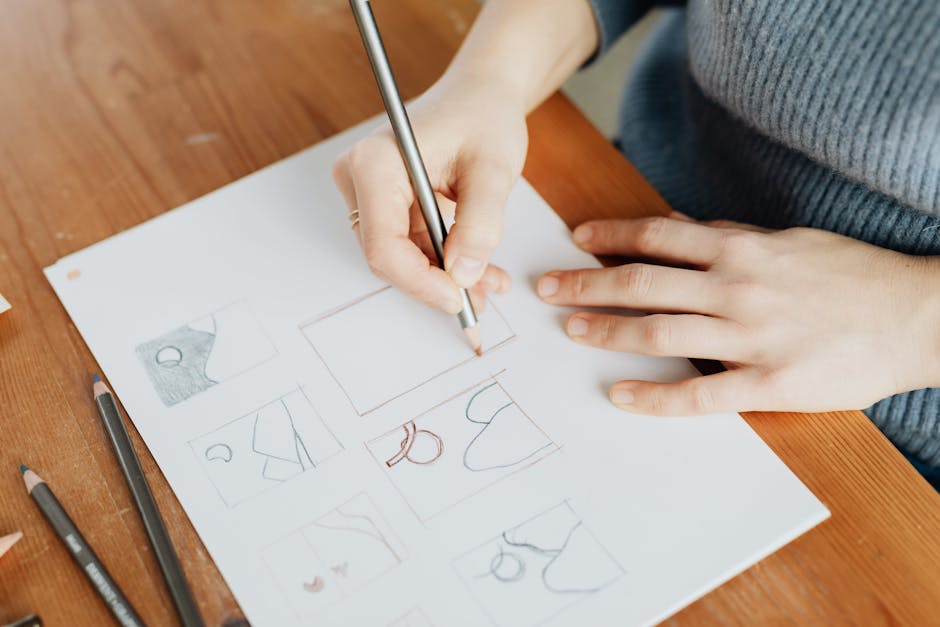
Every Sunday evening, I sketch 7 outfits — one for each day of the coming week. I use a single page divided into 7 small boxes. Each box gets a stick figure with the key pieces labeled. The whole thing takes 20 minutes.
Then I check each sketched outfit against my actual closet. Does the blue sweater in the sketch actually exist in my wardrobe? Yes. Do I own those brown boots? Yes. Does the cream coat fit over the chunky cardigan? I check by holding the two pieces together. If any piece is missing or doesn’t work, I swap it in the sketch before Monday morning.
This pre-check eliminates the 7 AM panic. Monday morning, I look at the sketch for Monday. I pull the pieces. I dress. Done. No standing in front of the closet. No trying on three things and rejecting them. The decision was made 12 hours ago.
One more thing: sketch the shoes first. Shoes are the hardest part of an outfit to change last-minute. If you plan boots and then realize your outfit needs sneakers, you’re scrambling. Sketch the shoe shape and color first, then build the rest of the outfit around it. This single switch reduced my morning dressing time by about 4 minutes.
When Not to Sketch (and What to Do Instead)
Sketching isn’t the right tool for every situation. Here’s when to skip it.
Don’t sketch for events with a strict dress code. If the invitation says “black tie” or “cocktail attire,” the outfit options are limited by the code, not by your creativity. Look up the specific code online, find one reference image, and copy the silhouette. Sketching from scratch adds unnecessary work.
Don’t sketch when you’re shopping for a single item. If you need a pair of black work trousers, sketching won’t help. Go to the store, try on 3-4 pairs, and pick the one that fits best. Sketching is for combining pieces you already own, not for finding new ones.
Don’t sketch if you have a uniform. If you wear the same thing every day — jeans and a t-shirt, or a uniform for work — sketching adds zero value. You already have a system that works. Spend the time elsewhere.
Do sketch when you have a wardrobe gap. If you keep reaching for the same three outfits and ignoring the rest of your closet, sketching forces you to use what you have. It reveals combinations you didn’t see because you were stuck in a mental rut. That’s when sketching pays for itself in saved time and reduced shopping.
For most people, sketching 7 outfits once a week is enough. It takes 20 minutes and saves about 2 hours of morning indecision. That’s a 6x return on time invested.
Start tonight. Grab any pen and a piece of paper. Draw a circle, a rectangle, two lines for legs, and two lines for arms. Then draw the first outfit you want to wear tomorrow. It doesn’t need to look good. It just needs to be planned.